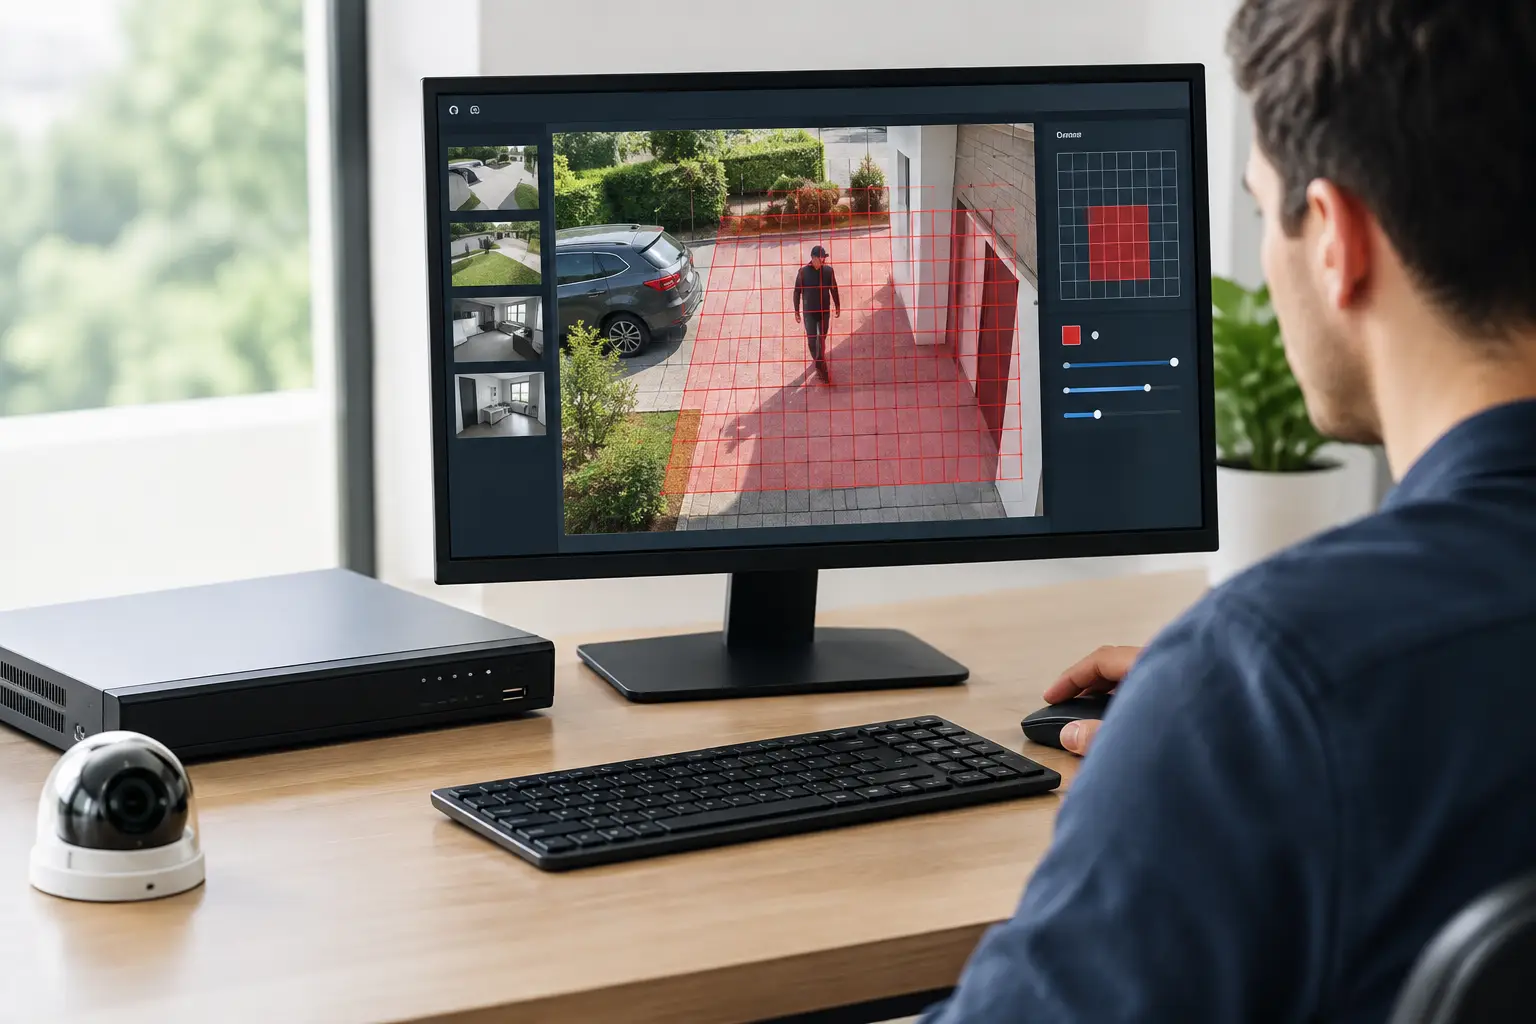
A camera pointed at a busy parking lot can generate hundreds of useless notifications before lunch. Headlights sweep across the frame, trees move in the wind, pedestrians pass on a public sidewalk, and vehicles travel through areas that are not part of your property. When you configure NVR motion zones correctly, the recorder can concentrate on the doors, gates, loading areas, cash-handling points, and other locations that actually require attention.
Motion zones are one of the fastest ways to improve a surveillance system without adding cameras or increasing storage. They help reduce false alerts, make event searches more useful, and keep operators from becoming numb to constant push notifications. The goal is not to detect every pixel that changes. The goal is to detect meaningful activity in the area your camera is intended to protect.
What NVR Motion Zones Actually Control
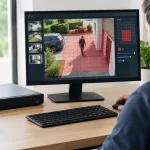
A motion zone is a selected portion of a camera image where the NVR is allowed to look for motion. Most NVR interfaces display a grid over the live view or playback image. You can draw, paint, or clear blocks to define the active detection area. Movement inside the selected area can trigger recording, notifications, an alarm output, or a combination of actions based on the recorder settings.
Zones do not make a camera more intelligent by themselves. A basic motion zone still reacts to pixel changes, which means shadows, rain, insects, and shifting light may trigger an event. However, a properly sized zone removes obvious sources of unwanted activity from the equation.
For example, an installer protecting a rear delivery entrance may draw coverage around the dock door, the staging area, and the employee path to the building. They may exclude the street beyond the fence, a flag near the driveway, and tree branches at the edge of the frame. This creates a more useful event log and gives the customer a better chance of seeing the activity that matters first.
Prepare the Camera View Before You Configure NVR Motion Zones
Do not begin with motion settings if the camera view is poorly positioned. Zone setup cannot correct a camera aimed too high, too wide, or directly into a changing light source. Confirm the camera is mounted securely, focused correctly, and providing the coverage the site needs before adjusting detection settings.
Start by reviewing the scene at the time of day when the area is busiest. For a retail entrance, that may mean checking the view when the doors are opening frequently and sunlight is coming through the glass. For a warehouse, it may mean reviewing the overnight image when exterior lighting, vehicle headlights, and insects are more likely to affect the scene.
The camera should identify people or vehicles at a useful size within the intended detection area. If a vehicle occupies only a few pixels at the far end of a large parking lot, motion detection may work inconsistently regardless of zone settings. In that situation, repositioning the camera, narrowing the field of view, or adding a dedicated camera is the better solution.
Also check the image for recurring motion sources. Common problems include moving foliage, reflective surfaces, HVAC exhaust, rotating signs, flagpoles, public sidewalks, active roadways, and spider webs near the lens. Excluding these areas early saves time during testing.
Define the protected activity, not just the protected space
A zone should follow the activity you want to capture. At a gate, that may be the vehicle approach lane and pedestrian entry point. At a storefront, it may be the door threshold and the first several feet inside the entrance. At a self-storage facility, it may be each access lane rather than the entire open lot.
Avoid selecting the whole image by default. Full-frame motion detection is occasionally appropriate for an enclosed room with stable lighting, but it is usually too broad for exterior cameras and areas with public traffic. A smaller, targeted zone produces cleaner events and makes it easier to investigate incidents later.
How to Configure NVR Motion Zones Step by Step
Menu labels vary by manufacturer and firmware version, but the workflow is similar across most professional NVR platforms. Log in locally with a monitor and mouse or through the recorder’s web interface. Open the camera configuration menu, select the correct channel, and locate Motion Detection, Event, Alarm, or Smart Event settings.
First, enable motion detection for that camera channel. Then open the area or region editor. The NVR may present a grid, a rectangle tool, polygon drawing tools, or a brush-style selector. Clear the default full-screen selection if necessary, then select only the areas where motion should create an event.
Keep the zone slightly inside the frame edge where possible. Objects partially entering from the edge can cause inconsistent triggers, especially in low light or during heavy rain. For a doorway, include the door opening and a reasonable approach area rather than a thin line directly on the threshold.
Next, set the arming schedule. A motion zone can be active all day, only after business hours, or on a custom schedule. A retail location may record continuously but send motion alerts only when the store is closed. A loading dock may need events during overnight hours but not during scheduled delivery windows. Matching the schedule to site operations reduces unnecessary notifications without sacrificing recorded coverage.
Choose the response action carefully. Most systems allow one or more of the following: event recording, push notification, email notice, audible buzzer, alarm output, snapshot capture, or camera-to-camera linkage. Recording an event is often useful. Sending a phone alert for every event may not be. A property manager responsible for several locations should reserve immediate alerts for high-priority zones such as restricted doors, after-hours entrances, and perimeter gates.
Save the settings, then repeat the process for each camera. Do not copy the same zone pattern across every channel unless the camera views are genuinely identical. Each scene has its own movement patterns, lighting changes, and priorities.
Set sensitivity and threshold with the zone
Motion sensitivity determines how much image change is needed to create an event. A low setting can miss slower movement or objects farther from the camera. A high setting can react to rain, image noise, insects, and changing shadows. Some recorders also provide a threshold or object-size setting that helps ignore very small movement.
Begin around the middle of the available sensitivity range, then test with a person walking naturally through the protected area. Test both close to the camera and near the farthest point where identification is still expected. If the system misses a person, increase sensitivity gradually or expand the zone slightly. If it triggers repeatedly with no useful activity, lower sensitivity, reduce the zone, or exclude the source of motion.
Do not solve every false alert by dropping sensitivity to the minimum. That can leave a customer with a quiet system that fails to record the event they needed. Zone design, camera placement, lighting, and intelligent analytics should be considered together.
Use Smart Detection When the Scene Demands It
For active exterior areas, human and vehicle detection is usually a better option than conventional motion detection alone. Cameras and NVRs with AI analytics can distinguish people and vehicles from general motion, reducing alerts from weather, animals, shadows, and moving trees. Features may be labeled human/vehicle classification, perimeter protection, intrusion detection, tripwire, or smart motion detection depending on the platform.
These tools still need correct configuration. An intrusion box placed over a roadway will continue to generate vehicle events, even if every vehicle is correctly identified. A tripwire drawn across a public walkway may create accurate but irrelevant alerts. The same rule applies: define the activity that matters to the property, then tune the analytic rule around it.
For a commercial site, a practical setup may use continuous recording for complete coverage, motion or AI events for fast search, and priority alerts only for restricted areas. This approach preserves footage while keeping the event list manageable. It also provides better evidence when an incident begins outside the primary zone and moves into it.
Test in Real Conditions, Not Just at the Keyboard
After configuration, walk the site and test the zones from the perspective of actual users and intruders. Have someone approach a door, cross a driveway, enter through a gate, and walk along the edge of the detection area. Confirm that the NVR records the event and that the intended notification reaches the correct user.
Then test the conditions most likely to cause false alarms. Review the system after sunset, during rain, when exterior lighting changes, and when the site is operating normally. An office camera that performs perfectly at noon may behave differently when vehicle headlights enter the lot at 2 a.m.
Use the NVR event search screen to verify results. A successful setup should show meaningful clips that are easy to locate, not a long list of wind-blown branches and passing traffic. Document final settings for the customer or service file, including schedules, sensitivity levels, alert recipients, and any excluded areas.
Common Motion Zone Mistakes That Cost Time
The most common mistake is treating motion detection as a one-time setting. Sites change. Landscaping grows, seasonal decorations appear, delivery patterns shift, and new lighting is installed. Motion zones should be reviewed after major site changes and during routine maintenance.
Another problem is placing a zone directly over reflective glass or highly variable lighting. Sunlight on a polished floor, headlights in a storefront window, and water on pavement can all create dramatic pixel changes. If that area must remain protected, consider improving the camera angle, adding controlled lighting, or using human and vehicle analytics instead of relying solely on standard motion.
Finally, do not confuse a motion zone with a privacy mask. A privacy mask blocks part of the image from viewing or recording, while a motion zone tells the system where to detect activity. In many installations, both are needed, but they serve different operational and compliance purposes.
A well-tuned NVR is easier to manage, faster to investigate, and more valuable to the customer after installation. Worldstar supports complete surveillance deployments with NVRs, IP cameras, networking equipment, and technical setup assistance for systems that need dependable performance beyond day one.
Before turning over any system, give the end user a simple test: ask them to find a person entering the protected area at a specific time. If they can locate the correct event quickly without sorting through dozens of false triggers, the motion zones are doing their job.